I'm assuming you have read Setting up a RSS Feed, and it is humming along. Setting up a comment feed is a process, but once set up, it is an automatic thing of beauty. The process involves:
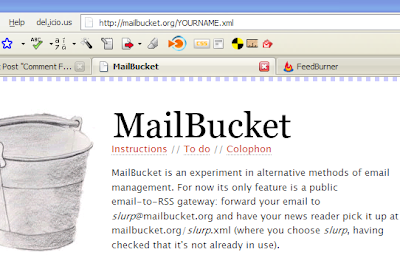
- MailBucket
- FeedBurner
- of course, Blogger
- Gmail

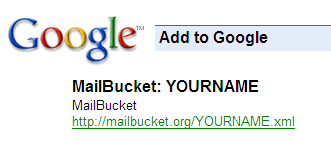
A little miracle occurs and your reader pops up! See the link ending in xml? Copy that. You will need it for your next step.

2. FeedBurner. Go to FeedBurner and sign in. Follow the steps in the previous post, Setting up a RSS Feed.

3. Blogger. When finished add the code to your blog...open Dashboard | Template | Page Elements | Add a Page Element | HTML/JavaScript. Paste that code in the window.
Now open Dashboard | Settings | Comments | Comment Notification Address. In this window paste your Gmail address. Remember to Save!
4. Gmail. Last stop. Open your Gmail account. We're going to work with filters. At the top of the window is a link that says Create a filter. You'll want to click on that.

Next you'll see several boxes at top. We will only use the Subject area. Type in [YOUR BLOG NAME] New comment in that box. Then click Next Step>>.

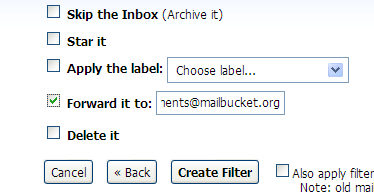
The next page you will check the Forward it to: box and then paste your MailBucket email address, which is YOURNAME@mailbucket.org. (Refer to Step 1 for the name you used with MailBucket.) Click on Create Filter.

Now you are done. whew Yes, it is true. Get a glass of wine and set back to wait for a comment to roll in. Or pay your friends and family to leave a comment. Or comment yourself. (Which is what I did while testing...I'm impatient and cheap.) Somehow, don't ask me how, through the miracle of the internet, comments get forwarded to email and forwarded to MailBucket and sent to a feed. Then, if your readers are smart, they will subscribe to your comment feed and anytime someone leaves a comment (or in my case, I leave an answer to an important blogging question) they will see it in their reader!!!
No comments:
Post a Comment